One downside of many guitar wiring setups is the frustration of losing too much high end as the volume control is rolled down, resulting in a loss of brightness and a muddier, foggier tone. Of course, this is what happens as we attenuate more of the signal. However, some players seek to maintain as much as this treble as possible. Thankfully, this is easily fixed by installing a treble bypass capacitor (known as the treble bleed mod) into the circuit.
As the name suggests, a treble bypass allows the treble to bypass the load of the pot, sending it straight to the output. What is commonly known as a "treble bleed" circuit consists of a small value capacitor and resistor that connects across the volume input and output lugs. Once installed on a volume control, the high end frequencies bypass the resistance of the pot and go straight to the output.
The treble bypass capacitor only passes the high end frequencies. It is the value of capacitor and resistor we choose, or indeed whether we wire it in series or in parallel that determines the treble cut off point.
This guide will show you what you need and how to install it.
You will need;
- Soldering iron
- Solder (either tin/lead 60/40 or "lead free" with added silver)
- 0.001uf capacitor (either orange drop or ceramic disk)
- Resistor value of choice (we use a 150k resistor, but 100k and 130k are also popular values).
- Heat shrink tubing 1mm diameter (optional)
Alternatively, you can purchase a pre-wired treble bleed kit.
Installation is simple. This mod is extremely effective yet costs next to nothing.
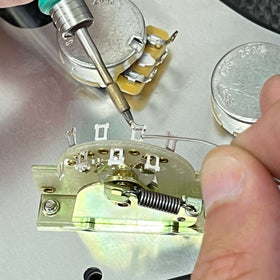
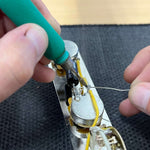
The 150k resistor needs to be soldered between the two lead wires of the capacitor - you can either twist the resistor lead wires around the capacitor wires and solder, or you can snip the wires and solder. Either way, you need a connection between the two. Refer to the below photo.

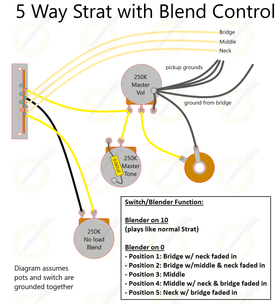
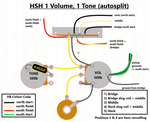
Quite simply, solder the treble bleed circuit to the input and output lugs of your volume control pot. Cut the capacitor leads to length, add the heat shrink tubing if you are using it (all this does is to protect the lead wires from coming into contact with the back of the pot, which acts as the ground) and solder into place as per the below wiring diagram.


Our treble bleed kits consist of a 0.001uf orange drop capacitor and 150k resistor wired in parallel, ready to install into your guitar. We have tested countless variations and combinations of capacitors and resistors (series and parallel) and have found this to be a good all-rounder.
Many players will play around with differing capacitor and resistor values.
Regarding the two components, here's the *general* rule of thumb:
Brightness is determined by the value of the resistor (lower resistance results in less highs), but the frequencies that are present are determined by the value of the capacitor - the lower the value, the higher the frequencies. The higher the value, the lower the frequencies.
It might take a bit of experimenting and playing around with different component values, but below are some typical and commonly used values.
- 0.001uF capacitor with 150k resistor (parallel) - A good all-rounder. Often used by Fender (Fender now add an additional 20k resistor in series to this setup) Refer to the below diagram.
- 0.001uF capacitor with 100k resistor (parallel) - Commonly used by Seymour Duncan.
- 680pF capacitor with 150k resistor (parallel)
- 560pF capacitor with 300k resistor (parallel)
- 0.001uF capacitor with 130k resistor (series) - The 'Kinman' method.
Furthermore, treble bleed circuits can be wired in parallel or in series.

Wired in parallel: most commonly used but can be a bit like Marmite. They are either loved, or hated. The reason being, if poorly matched components are used the resulting sound can be very tinny and the taper of the pot severely affected (it can actually get brighter at lower volumes). The volume roll off can be extremely slow in some cases.
Wired in series: eliminates the AWOL volume pot taper. It gives a less drastic change in volume pot taper but the tone of the guitar may change in a different way as the volume pot is turned down. This series combination passes a little more midrange than the equivalent parallel circuit.
More Guides
Copper Shielding - How to Shield a Guitar
PRS Wiring - 1 Volume, 1 Tone, 3 Way Toggle Switch
Guitar Wiring FAQ
