

The above video demonstrates how to install our solderless kits for Stratocaster. The video and below guide applies to both versions of our kit - the standard 5 way version as well as the blend control version.
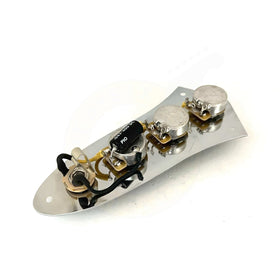
The solderless Strat kits come fully pre-assembled and ready to put straight into your pickguard.
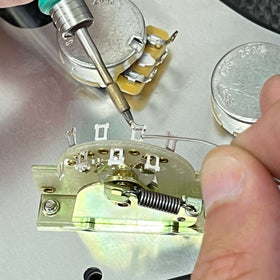
They are delivered on a 0.5mm thick aluminium grounding plate. Do not remove this.
Pop it straight into your pickguard (though remove any shielding you may already have in place) and follow the below instructions to install the kit.
You will need:
- Screwdriver

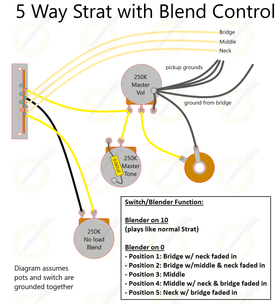
- N, M, B = neck, middle, bridge. This is where you put your three pickup wires respectively.
- The "G" terminals directly next to them are for the pickup ground wires.
- The smaller terminal block on the volume control is where we put our jack socket ("J" for the signal wire) and it's ground wire next to it. The third and final terminal on the volume control is for the main ground from the tremolo claw/bridge.
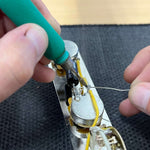
These are small terminal blocks which are designed (ideally) for one wire only. To secure the wire in place, unscrew the terminal block, pull the cloth back (or strip the insulation) for your wire, place into the terminal block and simply screw the terminal back into place.