A classic Gibson design, the Les Paul Junior is thankfully also very easy to wire. Consisting of one volume and one tone control, the single pickup rock machine has become one of the world's most loved guitars. The versatility from a single pickup with a volume and tone control has gripped players worldwide.
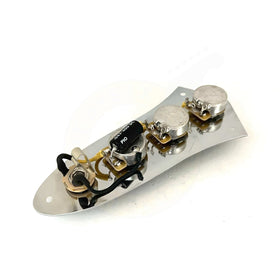
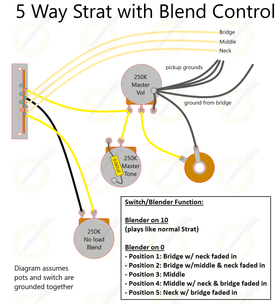
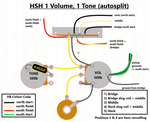
In this guide, we will show you how to wire the Les Paul Jr (which is also the same for the SG Junior) using our Les Paul Junior wiring kit. There is a wiring diagram at the start of the guide and we recommend you print it off and study it before starting.
To wire a Les Paul Junior you will need
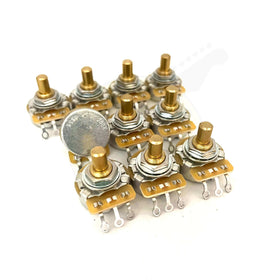
- 2 x CTS 500k short shaft audio pots
- 1 x 0.022uF orange drop capacitor
- 1 x Switchcraft USA long threaded 1/4'' jack
- 1.5ft of braided cloth guitar wire
- 25-40w soldering iron
- Lead/Tin solder (60/40)
- 3.5mm diameter heat shrink tubing (12cm in length)
- Les Paul Junior wiring diagram
Wiring Diagram

The first thing to note is that the Les Paul Junior is wired entirely using braided guitar wire. The volume/tone controls and the jack are all connected together using a single length of braided wire. Refer to the below photo with regards to braided hook up wire. The outer braid acts as the ground, whilst the inner cloth wire is the signal wire.

The second thing of note is the capacitor - typically a Les Paul Junior will use a 0.022uF cap but as they often come with P90's, a 0.047uF is sometimes used.
In this guide and diagram the capacitor is wired in the "50s" style which is preferred by many to the modern way of doing it as it acts somewhat as a treble bleed on the volume control (retains high end frequencies as it is rolled back) and the volume and tone controls become more interactive with each other. If you prefer the modern version, refer to the diagram at the end of the article - it is simply changing the location of the capacitor.
Step One
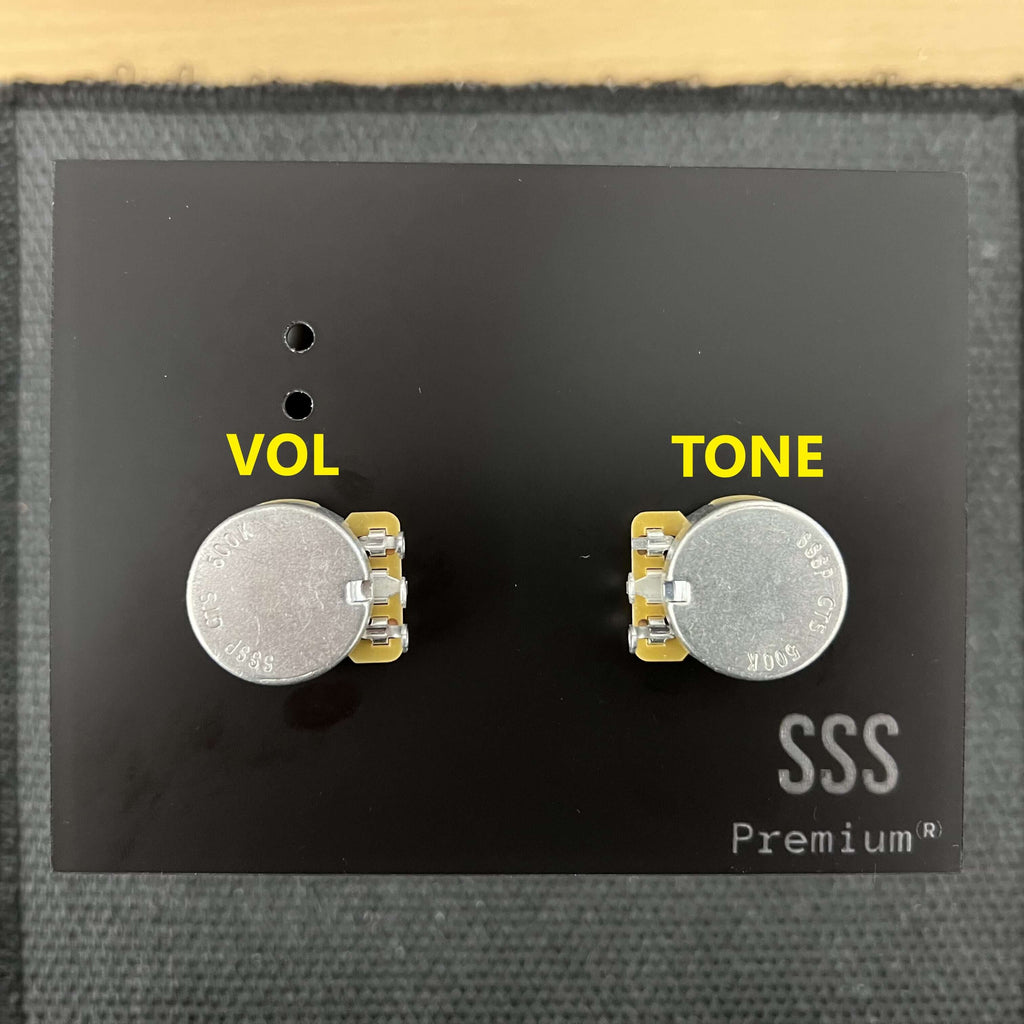
As is the case in the majority of our guides, the Les Paul Junior is another that is easier to wire outside of the guitar. The control cavity is small and it is too easy to burn either the wires in the harness or worse still, the guitar's finish itself. Therefore, it is ideal to make a little jig to allow you to do the bulk of the work outside of the guitar.
Take a 10cm x 15cm piece of plywood, acrylic or sturdy cardboard and place it under the top side of your guitar - this allows you to easily trace the pot holes through the control cavity onto the card underneath. The idea is to replicate the inside of the guitar's control cavity. For official Les Paul Junior dimensions, the centre to centre distance of the two holes is 6cm. Having traced the holes you need to drill them to 3/8'' (M10) diameter to accommodate the CTS pots.
Step Two
Next it is time to ground the two pots together using the tinned copper wire provided with the kit. Start off by tinning the two lugs which need to be grounded (lug 3 of the volume control and the middle lug of the tone control). Also tin the back of each CTS pot by spreading a light puddle of solder around. Feed a single piece of tinned copper wire through both lugs and ground at each end. Refer to the video and the below photo.
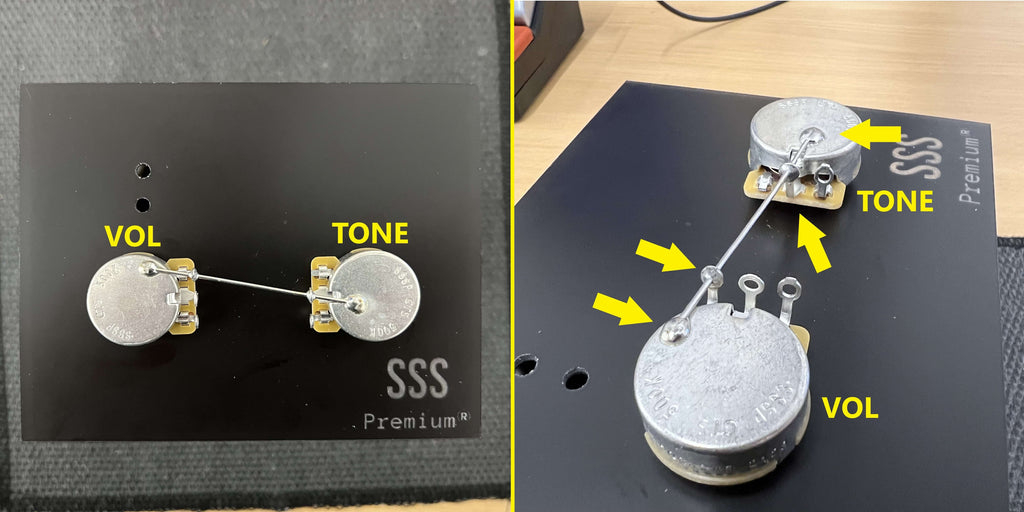
Step Three
Next, using your braided wire, push back the outer braid and inner cloth wire to reveal the inner wire - solder this to the output lug of the volume control (middle lug). This will run all the way to the jack. Solder one end of the capacitor to the same lug and the other end to lug 3 of the tone control the lowest lug from a birds eye point of view). Once done, feed a couple of cm of the heat shrink rubber tubing to cover the braid. We need to insulate the braided wire to prevent it touching any "live" connections and shorting the circuit to ground.

Step Four
The braided wire will run all the way to the jack - however, we need to ground the outer braid to the side of the tone pot casing on the way. Braided wire acts as two wires in one - the outer braid is the ground, while the inner wire is the hot/live.
Tin the side of the tone pot casing by spreading a small puddle of solder in the area where you will solder the braid to. Then use some tape to hold the wire in place while you create a "bridge" of solder between the pot casing and the wire. Refer to the below photo.

Step Five
Moving onto the jack socket, we need to seperate the inner signal wire from the outer braid. Our preferred method is to use some sharp wire cutters and cut up the braid (picture a surgeon cutting up a trouser leg).

As you can see in the above photo, it is extremely advisable to leave a little tail of braided wire - this is what we will solder to the jack ground lug.
Before we connect the jack, feed some more heat shrink tubing over the braided wire, leaving half a centimetre or so before arriving at the jack. Use a heat gun (or hair dryer!) to shrink the tubing into place.
Pull back the outer braid, revealing the inner wire - this is what gets connected to the jack's output lug. The outer braid goes to the ground lug (the lug on the ring)

Before connecting the jack socket, push a little 2cm length of tubing back up the wire and out of the way. We will use it in a moment to cover the signal lug of the jack when we have finished the connection.

Connect the inner cloth wire to the jacks output lug and then push the 2cm length of tubing back down over the joint - shrink it down with a heat gun.

That's pretty much it - it is time for final assembly - remove the harness from your template and put it back into the control cavity of your Les Paul Junior. The final step is to simply attach your pickups. As usual, the pickup ground goes to the back of the volume pot casing and the live goes to the input lug as per the wiring diagram.
You will also need to ground the circuit to the bridge - this is achieved by running a ground wire from the back of the pot, through the body and to the bridge or tailpiece studs.
There we have it - how to wire a Les Paul Junior - one of the most simple yet versatile wiring setups in an electric guitar.
Guitar Wiring Guides
How to Wire a Les Paul (50s style)
Guitar Wiring Diagrams
