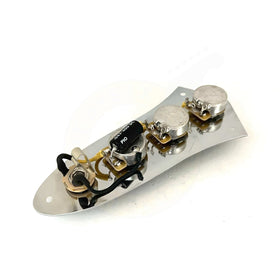
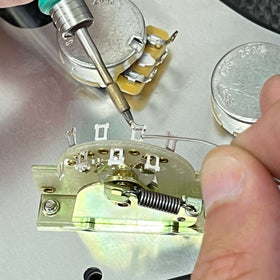
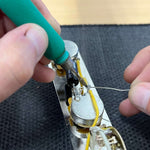
The above video demonstrates how to install our prewired 4 way Telecaster kit.
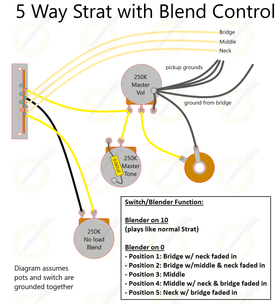
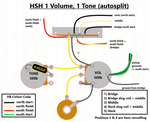
Despite being "prewired" there is still a little bit of soldering required to get everything up and running. Refer to the below photos and the diagram at the end of reference.
You will need:
- Wire cutters
- Soldering iron
- Lead free silver solder (or 60/40 - it is easier to work with)
- Heat resistant cloth (or even an old t-shirt) to protect the guitar's finish.
Step One
Remove the harness from it's template and transfer it across to your control plate.
Step Two
With the harness in your guitar - it is essential to connect the main ground from the bridge. On a typical Telecaster this sits under the bridge. Solder the end of this wire to the volume pot casing as shown in the below photos. Ground the bridge pickup too.


Step Three
If your neck pickup cover does not already have a seperate ground wire - then you will need to do this. Refer to the below photos. You need to disconnect the coil start wire (pickup ground) from the metal cover and solder a new wire directly onto the cover tab. Many Tele neck pickups these days come with this already done, so if in doubt, check with us or the pickup manufacturer.

Step Four
Solder your pickups to the switch as per the below photo. The new added cover tab for the neck pickup goes to ground (top of volume pot casing with the other grounds).

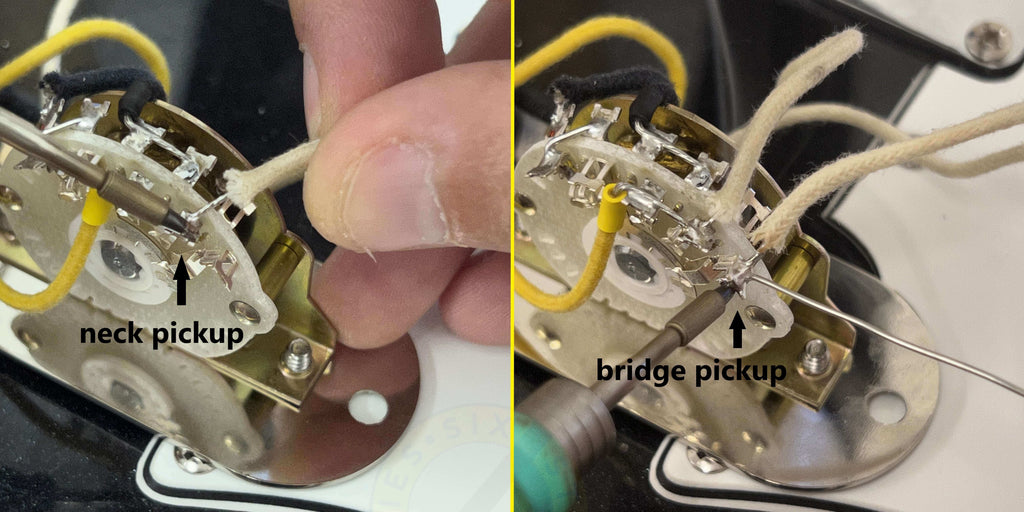
Step Five
Put everything back into the guitar - if you are using shielding materials inside the control cavity, ensure so signal wires or lugs of the switch come into contact with it as you screw the control plate back down flat to the body.


