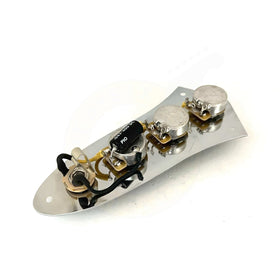
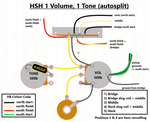
This guide demonstrates how to install our prewired 10 way Strat harness. The 5B5 Free-Way switch enables series and parallel options on top of the classic 5 way switching we are all familiar with.

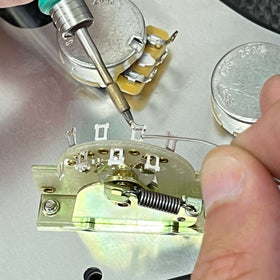
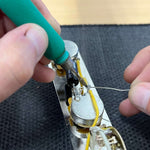
Despite being prewired, there is still a limited amount of soldering to do to get the kit functioning properly.

Remove the harness from it's template and place into your pickguard - it will be a direct fit, unless you have a custom/non-conforming pickguard with wildly different dimensions.
We will start by connecting our pickups.
Neck Pickup
Solder the neck pickup ground wire to terminal "NG" on the Free-Way switch.
Solder the hot wire to terminal "NH".

Middle Pickup
Solder the middle pickup hot wire to terminal "B" on the switch.
Solder the pickup's ground wire to ground (top of volume pot casing).

Bridge Pickup
Solder the bridge pickup's hot wire to terminal "BH" on the switch.
Solder the pickup ground wire to terminal "BT" on the switch.

Bridge Pickup Baseplate
If you are using a baseplate on your bridge pickup - this needs to be disconnected from the coil start wire and grounded separately to the volume pot. Our bridge pickup ground is going to the switch to enable series combinations with the other pickups - the baseplate (metalwork) acts as antennae causing hum and noise issues, so be sure to ground this separately.

String Ground
More grounding, it is important to connect the main ground from the bridge/tremolo claw to the top of the volume pot.

Jack Socket
Your kit comes with a prewired jack socket - twist or untwist the wires accordingly. Feed the jack wires through the hole connecting the jack socket cavity to the main controls cavity.
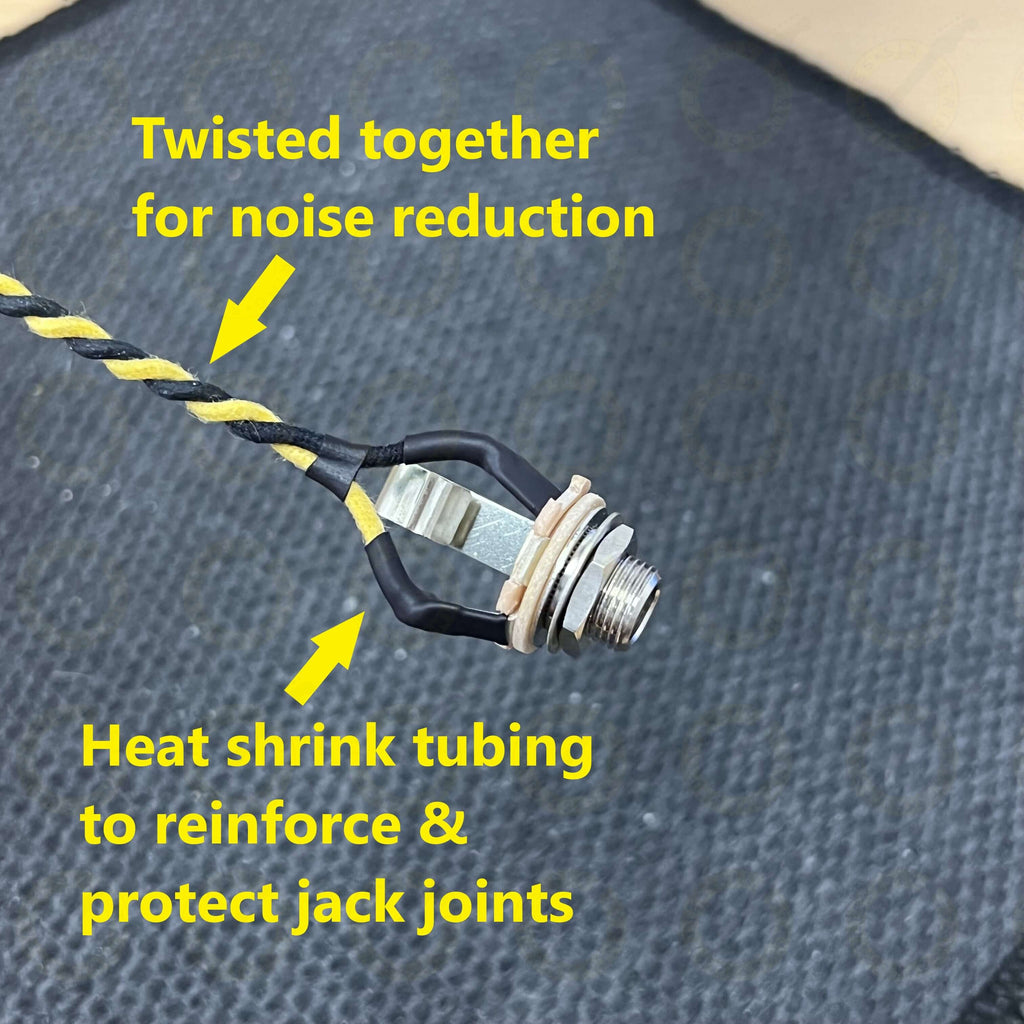
Solder the yellow wire (hot) to the output (middle) lug of the volume control and solder the black wire (ground) to ground on top of the volume pot casing.


